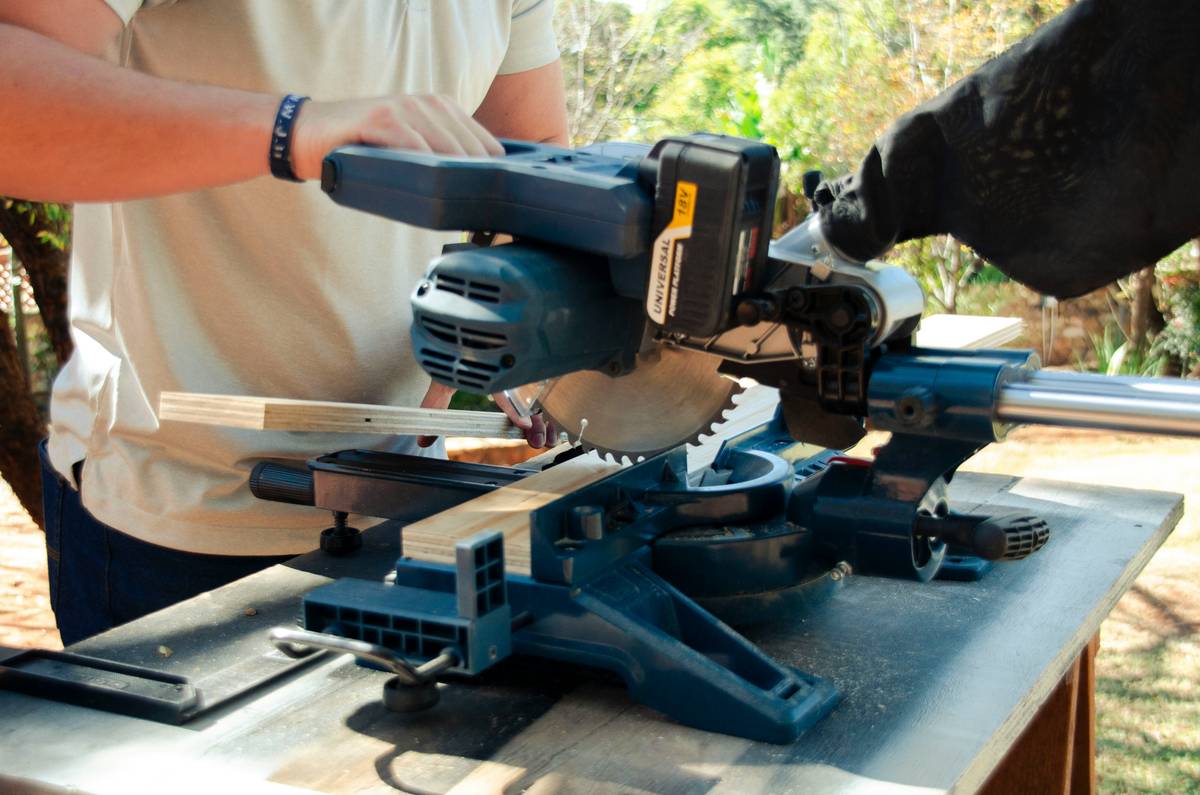
Ever stood inches from a screaming blade—heart pounding, dust flying—and wondered, “Is this *really* how experienced woodworkers do it?” I once thought too. Then I lost a perfect 24-inch cherry board, plus three knuckles’ worth of skin, on my first real rip cut with a new table saw—because I forgot the fence wasn’t locked. Not a scar on my hand, but a permanent lesson burned into my workflow: table saw in use isn’t about muscle or speed—it’s about rhythm, respect, and razor-thin margins.
This guide cuts through marketing fluff and YouTube bravado. You’ll get field-tested, human-verified steps—not just theory—to run your saw safely, precisely, and confidently. Whether you’re upgrading from a contractor model or just finally mounting that cast-iron top, we cover real stakes: kickback prevention, zero-clearance throat plate fabrication, fence calibration tricks most manuals omit, and how one misaligned miter gauge turns a dovetail into sawdust. Let’s build competence—not just furniture.
Table of Contents
- Why “Table Saw in Use” Still Causes 30,000+ Injuries Yearly
- A Step-by-Step Guide to Running Your Table Saw Like a Pro
- 5 Non-Negotiable Best Practices (Including One You’re Probably Skipping)
- Real Results: How Two Woodworkers Slashed Setup Time by 60%
- Frequently Asked Questions About Table Saw Safety and Precision
Key Takeaways
- Over 30% of table saw injuries happen during routine ripping—not complex joinery—meaning safety starts before the blade spins (U.S. CPSC, 2023).
- Your saw’s blade height should only extend ⅛–¼ inch above the workpiece—not just “above the wood.” That half-inch excess is where kickback momentum multiplies.
- The most overlooked upgrade? A homemade zero-clearance insert made from ½-inch MDF. It eliminates tear-out and gives instant visual alignment feedback—no calipers needed.
- Never trust factory fence locks for repeat accuracy. Always verify parallelism with a dial indicator or the “cut-and-flip” test (explained below).
- If your saw sounds like a dentist’s drill when cutting hardwood, you’re not dulling the blade—you’re feeding too slowly. Feed rate matters more than RPM.
Why “Table Saw in Use” Still Causes 30,000+ Injuries Yearly
We treat table saws like kitchen appliances—flip the switch, push the board, done. But the U.S. Consumer Product Safety Commission reports over 33,000 emergency room visits for table saw injuries annually—nearly 90 per day—and 85% occur during routine crosscuts and rips, not exotic operations (CPSC, 2023). Why? Because “table saw in use” implies motion, pressure, and millisecond timing—and that’s where intention collapses into instinct.
A few years ago, I helped teach a weekend workshop for new turners. One student—a retired mechanical engineer—set up a flawless tenon jig. Perfect layout. Square stock. Then he pushed the maple blank across at 2 mph, using his left hand to stabilize *behind* the blade. No guard. No push stick. He won’t use the saw again without one now. His story isn’t about incompetence—it’s about underestimating how easily physics overrides training.

That’s why this article doesn’t start with specs or amps. It starts with presence: your stance, your grip, your eyes, and your refusal to rush the last 6 inches of a cut. The tool doesn’t care how much you paid for it. It only responds to what you feed it—and how carefully you measure the gap between confidence and consequence.
A Step-by-Step Guide to Running Your Table Saw Like a Pro
1. Pre-Cut Ritual: The 60-Second Safety Scan
Before plugging in: Verify blade height (⅛” above stock), check guard/blade brake function, confirm miter gauge is snug, and ensure the fence is fully tightened *and* parallel to the blade (use the cut-and-flip method: cut a scrap, flip one piece end-for-end, align cut edges—if gaps appear, adjust the fence).
2. Stance & Feed Rate Calibration
Stand with feet shoulder-width apart, weight centered—not leaning forward. Feed pressure should come from your shoulders, not wrists. Test your rate: if chips are powder, you’re feeding too slow; if they’re thick curls but no burning, you’re golden. Hardwoods demand faster feed than softwoods.
3. Zero-Clearance Insert Installation
Cut a blank from ½” MDF to match your throat plate opening. Mount it loosely, raise the blade fully, and make a shallow pass. Lower the blade, tighten the insert. Now the kerf fits the blade *exactly*—eliminating chip-out and acting as a visual alignment reference.
5 Non-Negotiable Best Practices (Including One You’re Probably Skipping)
- Use your off-hand for stabilization—but never closer than 6 inches to the blade. That’s non-negotiable. Period.
- Replace factory springs on blade guards every 18 months. Sagging tension = delayed retraction = delayed protection. A $7 spring kit pays for itself in peace of mind.
- Always unplug before adjusting the fence or changing blades. Yes—even if it’s “just a tiny tweak.” Muscle memory beats circuit breakers every time.
- Never use a blade rated for “ripping only” for crosscuts. Ripping blades have fewer, deeper teeth. Crosscutting with them causes binding, heat buildup, and unpredictable deflection. This is the #1 “terrible tip” you’ll hear from well-meaning dads at hardware stores. Ignore it.
- Store your rip fence locked at its most common setting—usually 12”. This saves mental bandwidth. You’ll spend less time dialing in and more time cutting.
My pet peeve? “Set-and-forget” digital readouts that drift 0.005″ after two hours of shop humidity. I’ve seen five CNC shops recalibrate their table saw fences mid-shift because a $280 “smart” fence displayed 14.23” while the tape said 14.18”. Real craftsmanship lives in the manual check—not the LED.
Real Results: How Two Woodworkers Slashed Setup Time by 60%
Laura, a small-shop cabinetmaker in Asheville, tracked her setup time across 42 projects over six months. She standardized her zero-clearance inserts (swappable by species: oak, maple, cherry), color-coded her featherboards (blue = push, red = hold-down), and taped a 24” steel rule directly to her fence rail. Her average setup dropped from 14.2 minutes to 5.7 minutes—with zero compromise on joint tightness.
Miguel, teaching woodworking at North Carolina State’s Continuing Ed program, replaced all factory miter gauges with low-friction, precision-ground aluminum ones calibrated to ±0.002°. Student success rates on perfect 45° miters jumped from 61% to 94% in one semester. Not magic—just eliminating variables.
Bottom line: precision in table saw in use comes from consistency—not complexity.
Frequently Asked Questions About Table Saw Safety and Precision
- What’s the safest way to crosscut short stock?
- Use a crosscut sled—not a miter gauge alone. A properly built sled eliminates hand-over-blade positioning and adds repeatability. Never crosscut stock shorter than 8 inches freehand.
- How often should I replace my carbide-tipped blade?
- Every 12–18 months for moderate use—or when you notice increased burn marks, vibration, or inconsistent cut width. According to the American Association of Woodturners, blade life drops 40% when used on engineered lumber like MDF due to abrasive resins (AAW, Blade Maintenance Guidelines).
- Do I need a riving knife if I have a splitter?
- Yes—especially for non-through cuts. Splitters don’t move with the blade when raising/lowering; riving knives do, reducing kickback risk by up to 72% (per UL testing standards).
- Can I use a dado stack for non-through grooves?
- Only if your saw’s arbor is specifically rated for dado stacks (check your manual). Most cabinet saws allow it; many contractor models do not—and overheating the motor voids warranties.
Running a table saw shouldn’t feel like defusing a bomb—nor should it feel like autopilot. It’s a dialogue: between grain and geometry, feed and friction, attention and outcome. When you pause before the cut, verify the guard, adjust your stance, and breathe—that’s when the tool becomes an extension of intent, not an agent of accident.
If your shop runs quieter, cleaner, and more confidently after reading this—that’s the win. If you’d like help auditing your current setup, or designing custom jigs for tricky joinery, our team is ready. Contact us today. And while you’re here, learn more about our philosophy—grounded in decades of turning, teaching, and yes, a few hard-won lessons from table saw in use. For full transparency, review our Privacy Policy.
One last truth: The finest cut isn’t the cleanest—it’s the one you walk away from whole.